Your Guide to Building the Ultimate Poke Night at Home
Updated: Apr 27
A journey from ancient Hawaiian shores to your own kitchen counter.
A Bite of History: How Poke Became the Bowl We Love
If you’ve ever built your perfect poke bowl—layering fresh fish, bright toppings, and that irresistible umami drizzle—you’re participating in a tradition far older and simpler than the colorful creations we enjoy today.

Poke (pronounced poh-keh) literally means “to slice” in Hawaiian, and its earliest form dates back to Ancient Hawaii. Long before it became a global food trend, poke was a humble snack: scraps from filleting reef fish, tossed with sea salt and occasionally local nuts or seeds. It was practical, fresh, and deeply connected to the rhythms of island life.
Everything began to shift in 1778 with the arrival of James Cook, marking the end of Hawaii’s isolation. New ingredients flowed into the islands, and they naturally found their way into traditional dishes—including poke. At the same time, the ancient kapu system, which restricted most Hawaiians from fishing beyond the reef, began to fade. Suddenly, ocean fish like salmon entered the Hawaiian diet, expanding the possibilities of what poke could be.
The 19th century brought another wave of influence: Japanese immigrants. This bought new ingredients, techniques, and flavor profiles that began to blend with Hawaiian food culture. Soy sauce, sesame oil, green onions—these additions transformed poke from a simple fisherman’s snack into something layered, savory, and deeply satisfying.
By the 1990s, modern poke had fully emerged as a fusion of Hawaiian tradition and Japanese sashimi and nigiri. And particularly in the mainland United States, became a mosaic of many ingredients we now love as the customizable, texture-rich bowls that have become a staple of contemporary food culture.
Today’s poke bowls may look worlds apart from their ancient origins, but the heart of the dish remains the same: fresh fish, sliced with care, seasoned simply, and shared with joy.
A giant shout out to the Hawaii culture and cuisine, past and present, for this wonderful dish!
And now? It’s your turn to create your own poke adventure.
Create Your Own Poke Bar
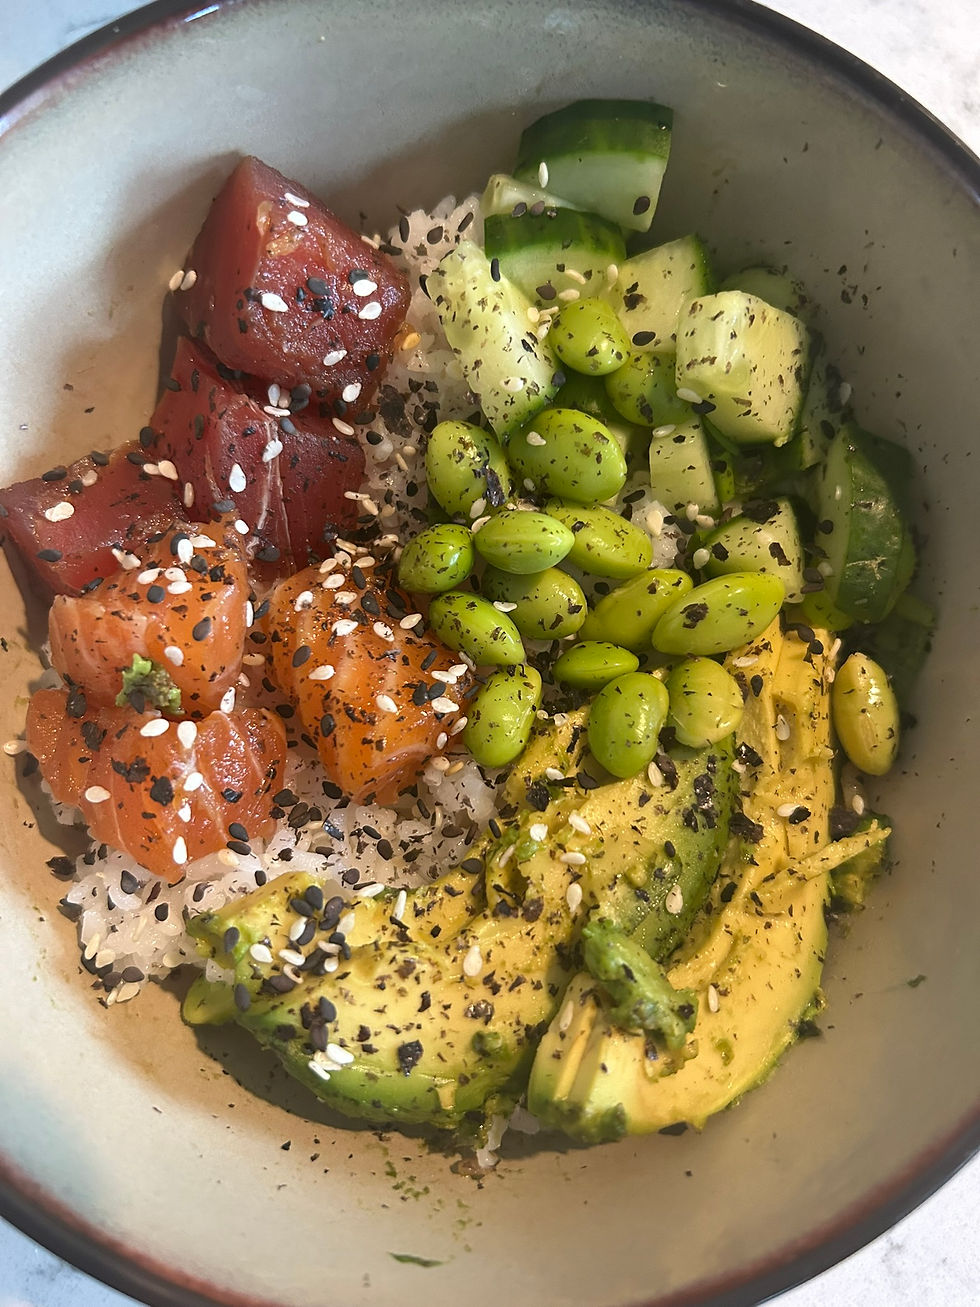
A poke bar is one of the most joyful meals you can serve—interactive, colorful, and surprisingly easy to prepare. It’s perfect for a family dinner, a casual gathering, or a “wow” moment when you want to show off your culinary and presentation skills. Healthy and delicious, I never go wrong with this meal.
Below is everything you need to build a restaurant‑quality poke experience at home.
If you don't want the aisle-by-aisle tedium of tracking down the ingredients, you can get everything you need minus the fish and veggies from Amazon. I find Amazon to be the best source for specialty ingredients and almost always at the lowest cost. I have provided links to the ingredients that I use. You can also jump to simplified recipe card if you are comfortable with the techniques.
The Base: Luxurious Sushi Rice
Most poke shops use plain white rice, but seasoned sushi rice elevates the entire bowl. The word sushi actually refers to the rice preparation—not the fish—and that bright, slightly sweet, slightly tangy flavor is what makes every bite sing.
Perfect Sushi Rice
If there’s one kitchen hill I’m willing to die on, it’s this: the oven is the best place to cook rice. I know, I know — generations of stovetop loyalists may clutch their pearls, but hear me out. Once you try it, you’ll understand why I haven’t looked back.
The Case for the Oven
I started baking my rice for a handful of reasons, but the biggest one is simple: it’s foolproof. No babysitting the pot. No boil‑overs. No fiddling with the heat. No scorched bottom layer that you pretend you meant to make “crispy.” Just perfectly fluffy, separate grains every single time.
The magic comes from the oven’s consistent, surrounding heat. Instead of blasting the bottom of the pot and hoping for the best, the oven gently envelops the rice, cooking it evenly from all sides. It also frees up precious cooktop space — a gift on busy nights — and removes the temptation to lift the lid or stir. And as the old saying goes: “If you’re looking, you aren’t cooking.”
Stirring is even worse. Agitating rice mid‑cook releases starch and turns your beautiful grains into mush. The oven method eliminates all of that.
I prefer an enameled cast‑iron pot for this method — the heat retention and natural nonstick surface make a noticeable difference. I use Logde Cast Iron almost exclusively in my kitchen. For rice cooking, I recommend the 3-qt Lodge Enameled Dutch Oven (not to be confused with the 3.6-qt braiser which is shorter).
Rinsing Rice
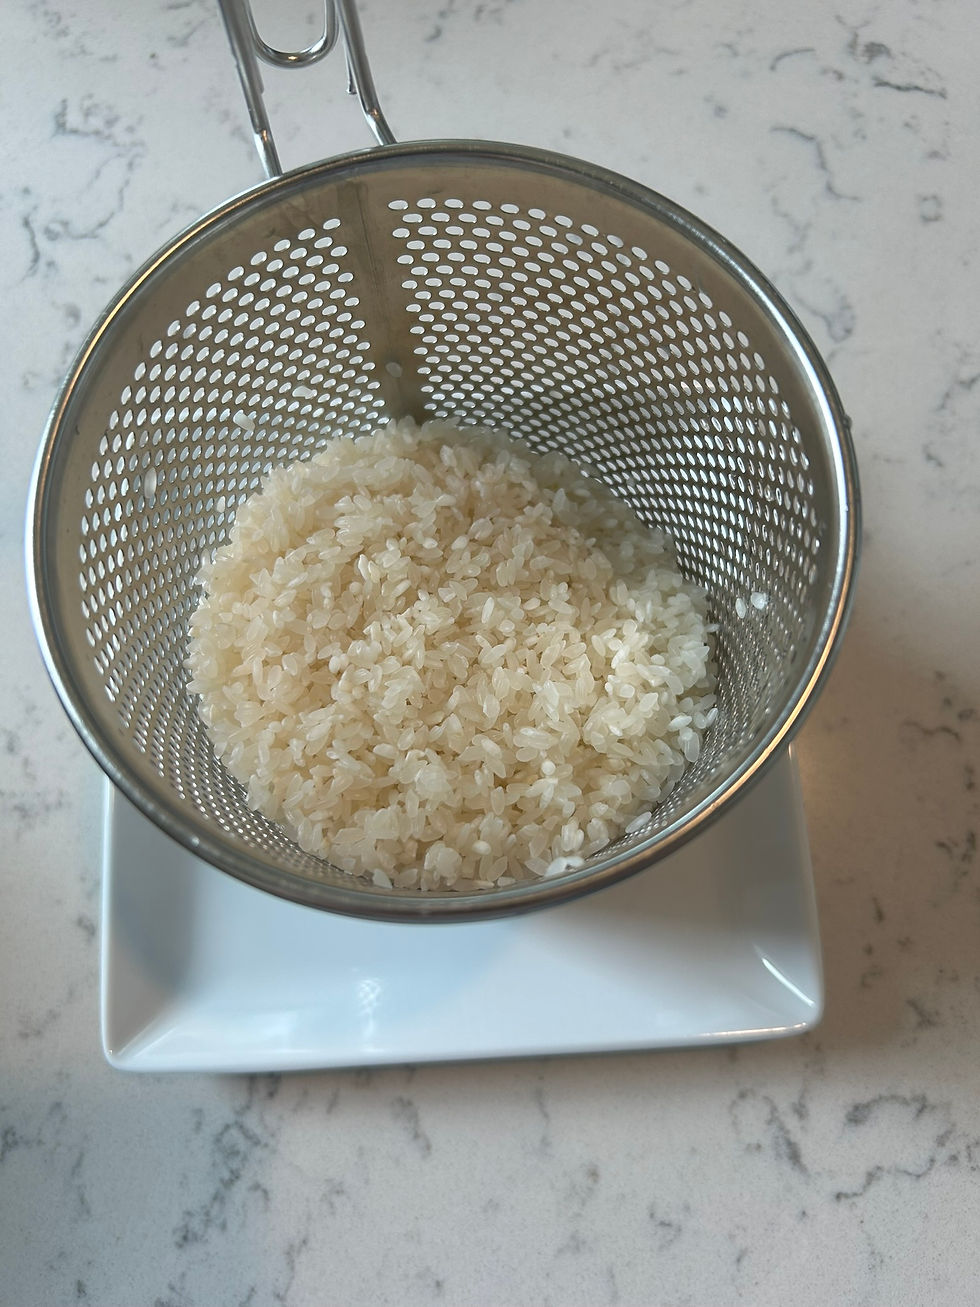
While rinsing rice is a step I skip for most recipes, I do think it is importance for sushi rice. Place rice in a strain and run cold water over it until the water coming out of the strainer is no longer cloudy. I like to use a basket strainer - it is easy to toss the rice in the basket to speed the rinsing and for easy one-handed operation. It is also great for blanching vegetables and cooking noodles or dumplings.
Ingredients
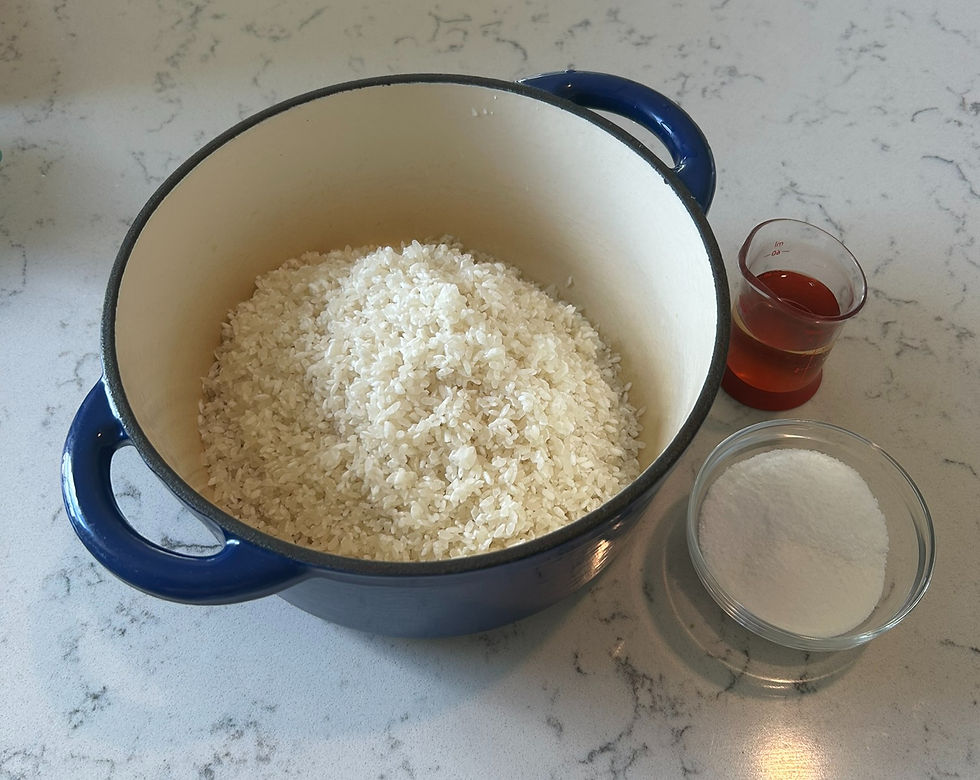
2 Cups Medium Grain Rice
3 Cups of Water
2 Tbls Rice Vinegar
2 Tbls Sugar
1 Tbls Salt
Step‑by‑Step
Preheat your oven to 350°F.
Rinse rice until rinse water runs clear
Combine water and rice in your oven‑safe pot.
Bring the mixture to a boil on the stovetop.
Cover with a lid and transfer to the oven for 30 minutes
When the timer goes off, pull the pot out and remove the lid. The rice will stay piping hot for quite a while — plenty of time to finish prepping the rest of your meal — but removing the lid prevents overcooking.
Warm (or Chill) Your Serving Bowl
A warm bowl keeps your rice fluffy and inviting. You can:
Fill a bowl with hot tap water for 5–10 minutes, or
Use an oven‑safe serving dish and warm it in the oven for 5–10 minutes.
On the flip side, for poke bowl toppings, chilling the bowl helps keep everything crisp. My beloved William Armitage pewter bowls — wedding gifts and long discontinued (#oldlady) — are in many of my photos. These are the ones I recommend for this century.
Seasoning the Rice

Once your rice is in the serving bowl, pour the vinegar, sugar, and salt over the top. Use a fork to gently fluff and separate the grains. When the rice looks glossy and the clumps have broken up, switch to a rubber scraper and fold -
Cut down the center → scoop along the bottom → turn over → rotate the bowl → repeat until seasoning is distributed.
Be gentle. Overworking the rice breaks the grains, releases starch, and leads to mush.
Scaling Up (Serves 6 - 12)
This rice is absolutely delicious so for more generous portions or to serve more guests you can scale up the recipe. For 8 or 12 servings, use a 7.5 qt Enameled Dutch Oven. This is a key pot that has so many uses, ever home chef should have one. I use it for Stews, Soups, Chilis, Tagines, and so much more.
Ingredient | 6 Servings | 8 Servings | 12 Servings |
Medium Grain Rice | 3 Cups | 4 Cups | 6 Cups |
Water | 4 Cups | 6 Cups | 8 Cups |
Rice Vinegar | 3 Tbsp | 1/4 Cup | 3 Oz |
Sugar | 3 Tbsp | 1/4 Cup | 1/3 Cup |
Salt | 1½ Tbsp | 2 Tbls | 2 Tbls |
Water doesn’t scale linearly because you’re accounting for both absorption and evaporation. Ethan Chlebowski explains this better than anyone — his deep dive into the science of rice is facinating. If you’ve ever wondered why rice behaves the way it does, This 37 minute video will change the how you think about Rice.
Protein: The Soul of the Poke Bowl
One of the joys of building poke bowls at home is how flexible the protein can be. Ahi tuna and salmon are the classics for a reason — they’re crowd‑pleasers, widely available, and easy to source in the quality you need for raw preparations. When you’re shopping, look for the highest quality fish or fish labeled as sushi‑grade and intended for raw consumption. Some grocery stores carry it, seafood markets almost always do, and you can even ask if your local sushi counter will sell you a portion.
There’s a lot of conversation (and confusion) around what “sushi‑grade” actually means. Rather than diving into the mythos here, I point readers to the excellent article The Sushi‑Grade Myth from Sushi Modern so you can make an informed decision that feels right for you. The "Sushi-Grade" Myth — Sushi Modern
If raw fish isn’t your thing, tofu works beautifully — it soaks up the marinade like a sponge. And yes, some people even use chicken. The marinade below works for all of these options; just be sure to cook the chicken fully before assembling your bowl. For the fish and tofu, the marinade is all the “cooking” they need.
Protein & Marinade (Serves 4)
Protein Options
1–2 pounds salmon and/or ahi tuna (or tofu; or cooked chicken)
Marinade

1/2 cup soy sauce (regular or low‑sodium)
1 Tbsp rice vinegar
2 Tbsp lime juice
2 tsp prepared ginger (recommended over raw for uncooked dishes)
1/2 tsp sesame oil (optional)
1/2 tsp white pepper
1/4 tsp red pepper powder (cayenne or gochugaru)
1/2 tsp white sesame seeds
1/2 tsp black sesame seeds
Step‑by‑Step
Slice the fish into cubes. Aim for 1/2–1‑inch cubes depending on your preferred bite. A very sharp knife makes all the difference here — not just for poke, but for nearly every aspect of elevated home cooking. Many specialty knife shops offer sharpening services, and even some Ace Hardware locations do. My local library brings in a sharpening service quarterly. For convenience, I use an electric sharpener at home — the Chef’s Choice 15‑degree model. Japanese knives require a 15‑degree edge, but I use it for all my knives. It produces a sharper, more precise blade, and if with your own sharpener used regularly, edge retention becomes a non‑issue.
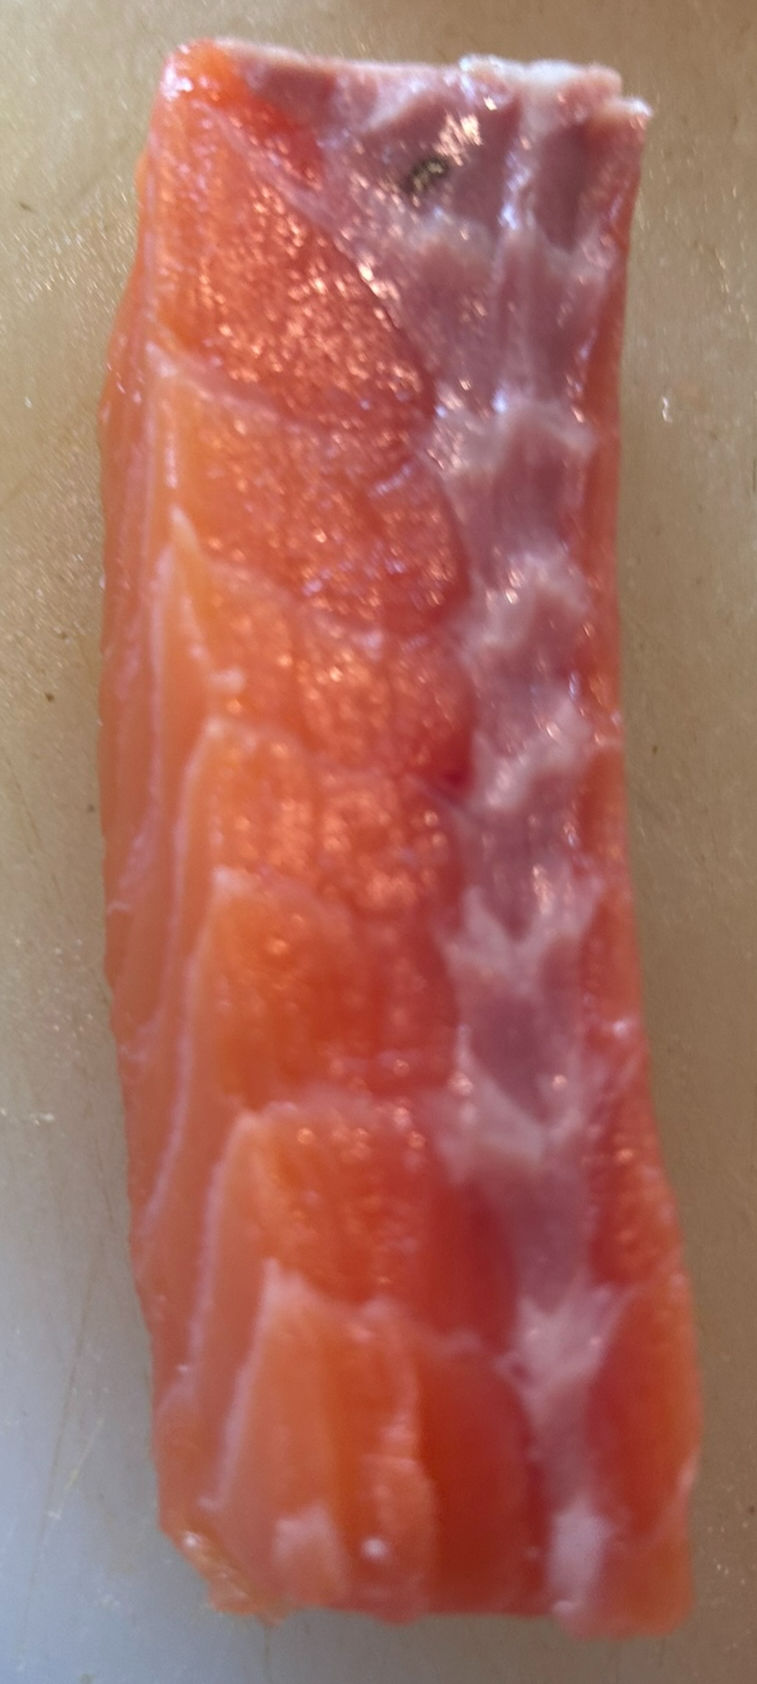
Remove the bloodline if needed. If you’re working with a large salmon fillet, you may see a darker strip running down the center of the “back.” This is the bloodline. It has a stronger flavor and a different texture, so remove it for the cleanest, sweetest salmon.
Whisk the marinade. Combine everything except the sesame seeds.
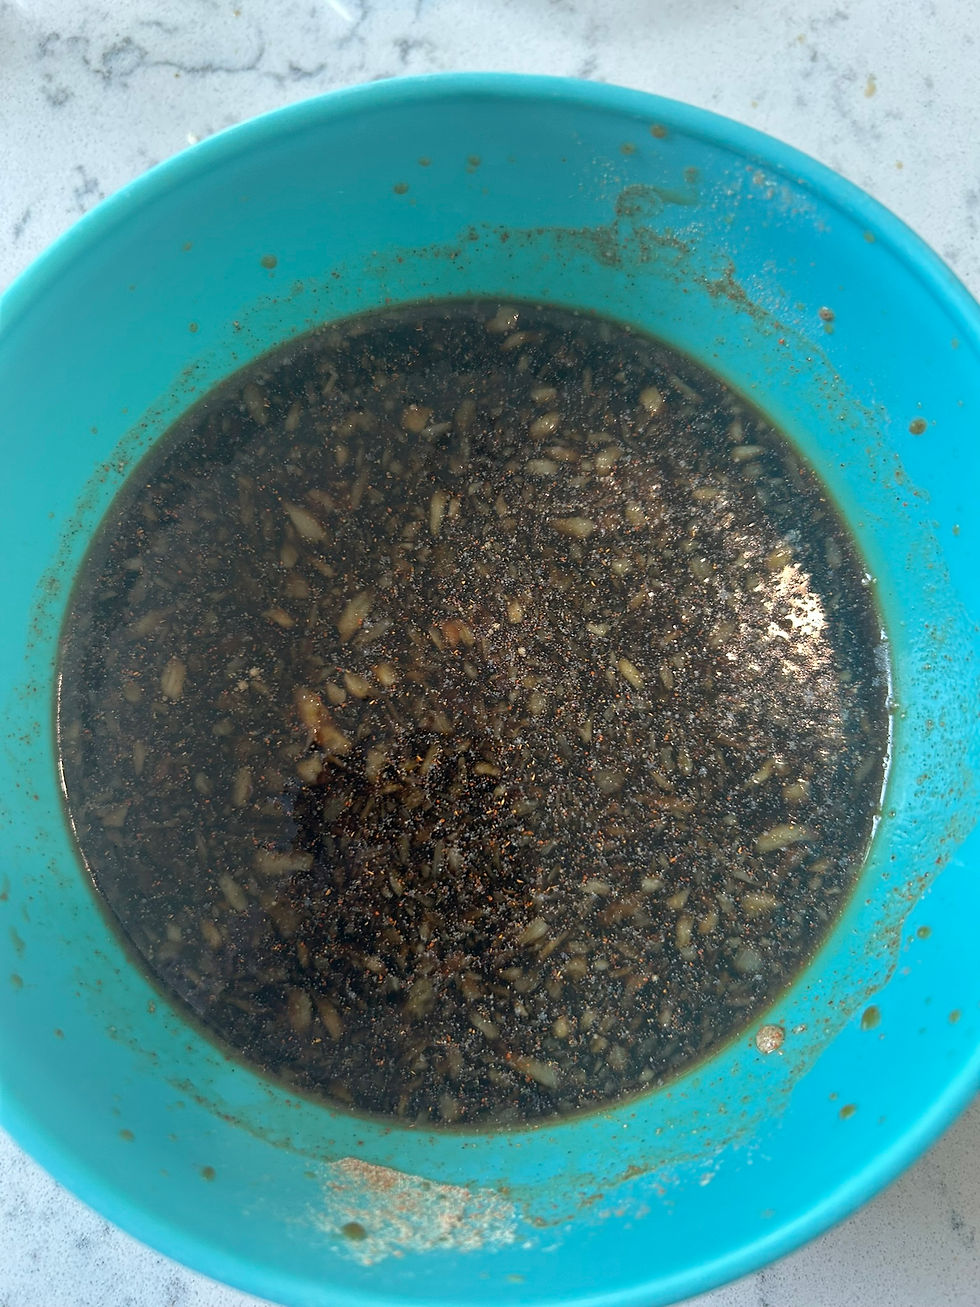
Pour over the fish. Gently toss to coat.
Marinate for 20–30 minutes. Don’t go longer — the fish is delicate, and too much time in the marinade will start to break it down.
Drain off the marinade and toss the fish with the sesame seeds before serving or allow your guests to apply their own.
Vegetables: Color, Crunch, and Freshness
One of the joys of building poke bowls at home is how endlessly customizable they are — especially when it comes to vegetables. Think of this section as your palette. Each ingredient brings its own texture, temperature, and personality to the bowl, letting you create something that feels vibrant and balanced.
Some of my favorite additions include:
Cucumbers — crisp, cooling, and perfect for contrast
Avocado — creamy richness that ties everything together
Shelled edamame — a protein‑packed pop of green
Carrots — sweet crunch, shaved or julienned
Green onions — a bright, aromatic lift
Radishes (red or daikon) — peppery bite and beautiful color
Mangos — a little tropical sweetness never hurts
Spring lettuce mix — great as a topping or even as a full base if you want a lighter, low‑carb bowl
Preparing Edamame
If you can’t find pre‑shelled edamame, don’t worry — the pods are easy to work with, and the beans stay wonderfully fresh thanks to that protective shell. You’ll find them in the freezer section of just about any grocery store.
Here’s the simple method:
Bring 1 quart of water and 1 teaspoon of salt to a boil
Add the edamame pods
Boil for 5 minutes
Drain
Gently squeeze the pods — the beans will pop right out with the slightest encouragement

It’s oddly satisfying, and the flavor payoff is worth the few extra minutes. I keep a dedicated pot with a built‑in basket for boiling, blanching, and steaming vegetables. It makes lifting everything out at the perfect moment effortless — no fishing around with tongs, no overcooking. It is often called an asparagus steamer but it is so much more than that. Little tools like this make home cooking feel smoother and more joyful.
Toppings: The Final Brushstrokes
Once your base and protein are ready, the toppings are where your poke bowl really comes alive. Think of them as the finishing brushstrokes — the textures, pops of flavor, and little surprises that turn a good bowl into a great one.
Here are some of the most reliable, crowd‑pleasing finishing touches:
Black and/or white sesame seeds — subtle nuttiness and a clean visual contrast
Nori komi furikake — seasoned seaweed flakes that add instant savory depth
Chopped macadamia nuts — a nod to Hawaii and a buttery crunch
Panko — light, crisp texture without overpowering the fish
Sriracha mayo or dynamite sauce — creamy heat that ties everything together
Fish roe — tiny bursts of brine that make every bite feel special
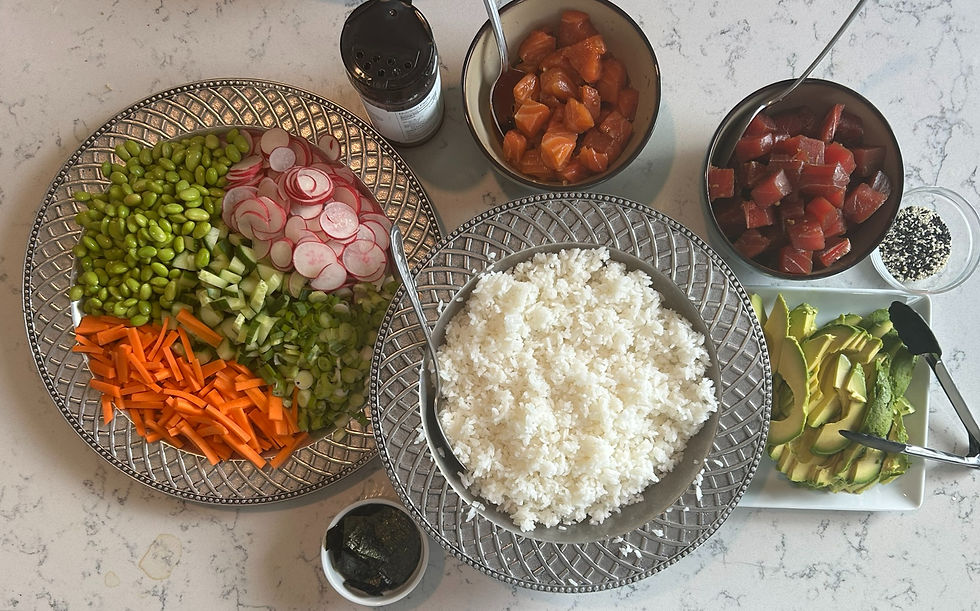
I like to set everything out buffet‑style when serving guests. It’s interactive, colorful, and lets everyone build a bowl that feels personal. Some go heavy on crunch, others chase umami, and a few will unapologetically drown their creation in spicy mayo. That’s the fun of it.
So set it all out, step back, and watch your guests create their own edible masterpieces. It’s relaxed, communal, and exactly the spirit poke bowls were meant to carry.
Ingredient Links
I buy spices in bulk. If you cook with any frequency, you should too. Dried spices last for between 1 and 4 years and they never spoil, they just lose potency and aroma. I find the 1 lb containers are easier to organize in the pantry, have a wider mouth - I hate when I can't get the measuring spoon in the container - but the real motivation is cost. At the time I wrote this post, a 3 oz jar (slightly bigger than the size you find at the grocery store) was $5.99 for the Amazon Grocery Brand ($2.00 per oz) and a brand like Spice Islands will run you $11.99 for 2.4 oz at the grocery store (that's $5.00 per oz!!). Badia 16 oz container was $15.99 ($1.00 per oz) on Amazon. The same goes for Cayenne Pepper - $1.60 per oz for Amazon Grocery, $3.91 for Spice Islands at the grocery store, and only $0.76 per on for the bulk spice!
You can also find great deals on common spices in bulk at Costco and Sam's Club; for the more specialized spices Amazon's got you covered - I have never failed to find even the most obscure spice there. My favorite brands are Badia and McCormick. Amazon Grocery is great deal when they have the bulk containers. I absolutely love Spice World, but their spices come in pouches which I find less convenient although they have the really rare finds.
So organize your pantry and save 50% - 80% on your spices.
Ingredient | Comments | Source (#ad) |
Medium Grain Rice | I like a medium grain Kokuho Rose. Any high quality short or medium grain rice will do. Long grains will not yield a suitable texture. Sometimes the 15 pound bag is only a few dollars more on Amazon. | |
Rice Vinegar | Any variety will do and there are plenty. DO NOT get seasoned vinegar. This recipe includes the seasoning (salt and sugar) | |
Salt | Any non-iodized salt will do. Red Diamond is my favorite for all recipes. | |
Sugar | Any white sugar will do. Amazon's house brand are inexpensive and good quality. | |
Soy Sauce | I like Kikkoman's Regular, Low Sodium, and Gluten Free Varieties. Buy the dispenser bottles and then refill with the 2 liter or gallon jugs. It will give a real restaurant feel to your meals. Soy Sauce actually contains a decent amount of gluten and a ton of sodium. I you feel bloated after eating dishes heavy in soy sauce, try the low sodium or gluten free varieties. | Regular Dispenser https://amzn.to/42cpXBY Regular 1 Gallon https://amzn.to/4mGfSXs Low Sodium Dispenser https://amzn.to/4cDHYht Low Sodium 2 Liter https://amzn.to/486adnx Gluten Free 2 Liter |
Lime Juice | I like the Real Lime Brand. You'll notice a lot of my links are to 2-packs. It tends to be much cheaper and I run my kitchen according to the Navy Seal adage "Two is one, one is none." | |
Prepared minced ginger | Use in recipes that are not cooked to avoid accidently chomping down on a palette numbing chunk of raw ginger. For cooked recipes use prepared or fresh. | |
Sesame Oil | Sesame Oil has a very potent flavor and some people have a sensitivity to it that make even small amounts overpower a dish. | |
White Pepper | I absolutely love ground white pepper. It has a very different and much smoother flavor compared to black pepper. While a salad or scrambled eggs may benefit aesthetically from fresh ground black pepper, for sauces such as Hollandaise, white pepper's light color is crucial. | |
Cayenne Pepper | I use cayenne and gochutgaru (Korean red pepper) interchangeably. Sometimes I convince myself that I like gochutgaru better, but in a blind taste test I don't know I could tell the difference. Cayenne is cheaper and easier to find. | 3 oz Cayenne https://amzn.to/3Outrww Bulk Cayenne https://amzn.to/41F8Att Gochugaru https://amzn.to/3Outrww |
White Sesame | Buy untoasted sesame seeds and dry roast them in a pan over medium heat if you want them toasted. Sesame seeds develop a strong flavor quickly when toasted so be aware of the difference in flavor profile between toasted and non-toasted. | |
Black Sesame | You can consider black sesame optional from a taste perspective in recipes but it give a stunning visual effect. | 2.4 oz https://amzn.to/4u2uGlL |
Recipe Cards
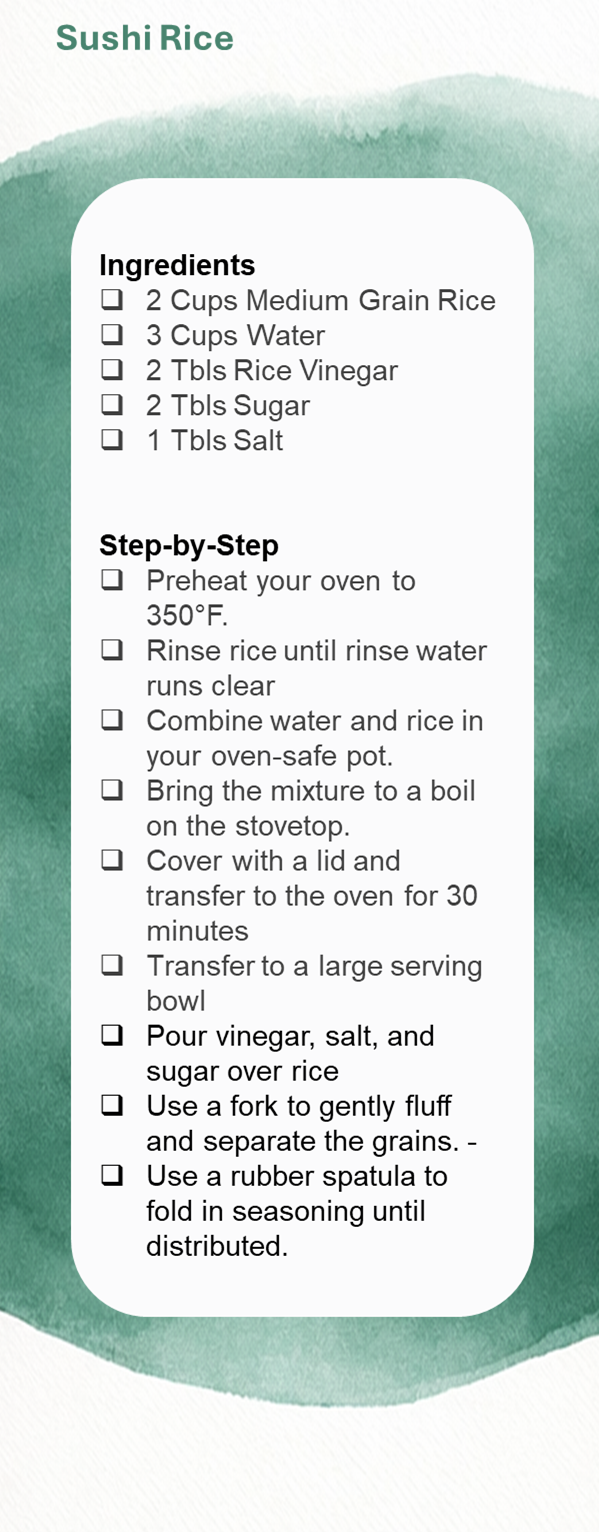


*As an Amazon Associate I earn from qualifying purchases. All of the products referred on this page are routinely used by me in the manner described.


Comments